
Blue and White Medallion Dress
.JPG) |
| This is my "Are You Impressed?" face :) Also note the crazy hair... purposeful, of course |
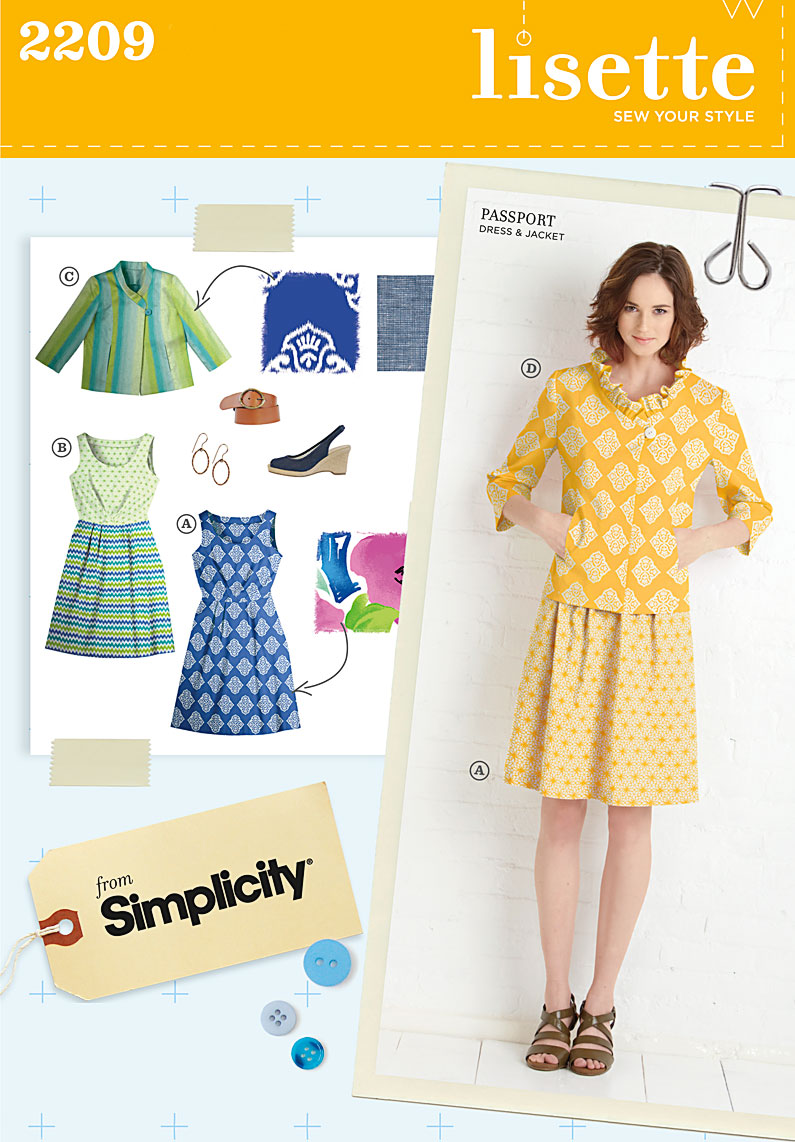
But here it is, 2 years later! What can I say - great minds think alike? Or I am just subject to marketing. Oh well :) I considered a few different patterns over the past couple years, but I finally decided to return to my first sewing pattern love.

Since this was the first dress I made (two years ago), I figured I would up the game and make some design changes, you know... now that I am older and wiser and cleverer and - shall I go on? But, as these things normally go, only some of them actually worked out. Oh hello high horse, I suppose I can get down now :)
Here's what I wanted to do:
1. Lower scoop back neck
2. Fuller skirt
3. Add pockets
4. Fully lined inside (no facings or bias tape)

Here's what actually ended up happening
1. The lower scoop back neck - success!!! I just cut the back neckline lower until I had it about where I wanted it, and by golly it worked! *I read a great tip in Gertie's book that you need to make sure the middle of the scoop neckline is perpendicular to the floor - otherwise you will get a slight V instead of a scoop.

2. Fuller skirt - also successful! And also aided by Gertie's book - I used the slash method (afterwards those pattern pieces were waving aroung like octopus tentacles! Lol :)


4. Fully lined inside (no facings or bias tape) - let's be honest, the real reason I wanted to line this dress was because I really really don't like facings - especially after dealing with the ones in my 1940's dress (I think they were too small and always kept flipping out). In any case, I had an adventure with this dress, oh yessirree.
My plan was to use this amazing technique by the Slapdash Sewist for fulling lining the inside of a sleeveless dress. I used it for my Polka Dot Dress, and frankly, that's the best looking thing I've ever sewn :) My plan was just peachy until I tried to turn the dress right side out. Friends, let me warn you now - this technique only works if your back bodice is two pieces. It's like trying to find the end of a circle, as opposed to a U. After turning my bodice in circles a few times, I realized my mistake, swore a little and threw it on the ground!
Later, I came in and decided to have a go at a bias tape finish around the neck and armholes. I knew I shouldn't have, as I am never happy with how they turn out, but gosh darnit I was NOT making facings.
Well, as you have probably guessed, the bias tape did not turn out well, therefore leaving me with my last option (and the original intent of the pattern) - facings. I really should have looked at the facings in my first dress before I went on this entire escapade because they are actually great! They are sewn down around the armholes under the bias tape so they can't flap around! Genius, I tell you! If only I would have recognized it earlier, it would have saved me a lot of seam ripping :)

I did end up leaving the skirt lined, which feels very nice and helps reduce static cling. I have a few serged seams in this dress, thanks to my awesome sis-in-law who is letting me borrow her serger for awhile :)
Also, the armholes are still lined with bias tape - in this case YELLOW bias tape :) They were all out of white (too many ppl making Easter dresses, I suppose) and I'm so glad, b/c this pop of yellow is my favorite part of the dress!

So there you have it! I really love this dress and can't wait to wear it more! It fits me like a glove on top and is nice and flowy on bottom. I will definitely be keeping this pattern on the top of my pile - maybe next time I will cut a center back seam so I can do a full lining and have pockets on both sides :)


13 Comments
Wow, you've been so productive! I love this fabric with this dress - oh, and I've totally been there trying to figure out how to flip my freshly lined bodice right side out, only to realize it's impossible. Sigh.
ReplyDeleteGah! What a fantastic dress! And you look adorable in it! So funny too, because I've been thinking about making this pattern for the last couple weeks! Great minds, indeed!
ReplyDeleteVery cute! I also hate facings .. but sometimes I just can't be arsed with the fully lined shizz :)
ReplyDeleteCute dress!! your on a roll sista!
ReplyDeleteThis is SO cute! And I love that fabric!!! I've seen it at JoAnns several times and have been so tempted to buy it. Your dress looks fantastic and I love the yellow bias tape for the armhole finishing. One of my favorite color combinations! :-)
ReplyDeleteSuper cute! Good job on your alterations and finished product. You look great!
ReplyDeleteVery cute! It looks so much like the pattern envelope. And YES for pops of colour!
ReplyDeletei love it! so cute!
ReplyDeleteThis dress is gorgeous. I love that fabric and can fully empathise with you about sewing shoulders together and then realising that it can't be turned around regardless of how you look at it! I tend to fully line the bodice by cutting out the main pattern twice, I attach the lining to the front and back necklines and the armholes before sewing the shoulders together. Then I turn the front bodice the right way round (which does look half done obviously) and while the back bodice is still inside out I slip the shoulder straps of the front bodice inside the shoulder straps of the back bodice so that right sides of lining and main fabric are together. Then I stitch together at the top and pull it out. Does that make any sense?? Maybe I should do a tutorial. Amazing dress though. Where is your fabric from? x
ReplyDeleteNice dress!
ReplyDeleteBut why you don't use one facing for armhole and neckline? This one will not flipping out. I mean like this - http://craftprettysweet.blogspot.ru/2011/05/sorbetto-ii-and-armneck-facing-tutorial.html
That's a great idea! I'm definitely going to have to try that with my next dress or top - I can't wait to see how it looks! Thanks so much :)
DeleteTry it! It can be little bit tricky first time but the final result is perfect!%)
DeleteIt's a beautiful dress and I really like your fabric! I've made it too and remember having the hardest time making it fit properly. I had the same willingness to add pockets and encountered the same problem of what to do with pockets and zipper.. I'm pretty sure I won't do this dress again though, so I shouldn't worry :)
ReplyDeleteCongrats on your great work